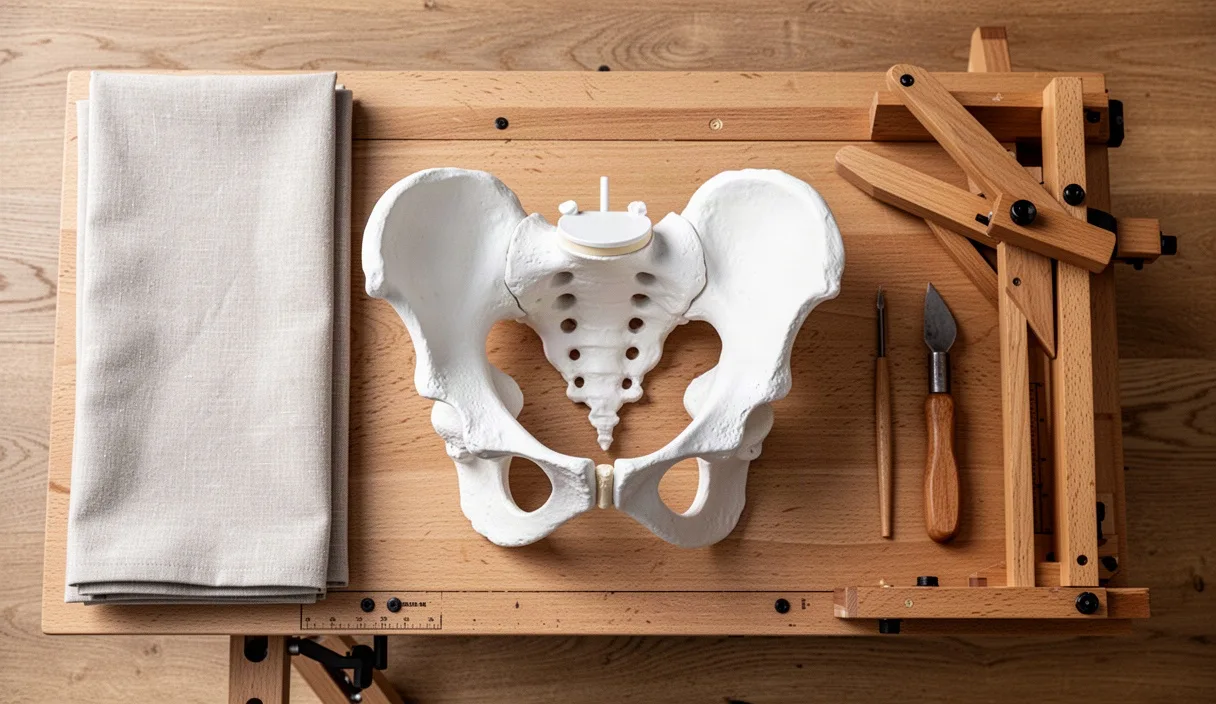
The pelvic floor functions as the structural base of the core, supporting the bladder, bowel, and internal reproductive organs. It works in coordination with the diaphragm, deep abdominals, and spinal stabilizers to manage intra-abdominal pressure during everyday movement. When these muscles lose coordination, become excessively tight, or weaken, the body compensates through altered mechanics. This compensation manifests as groin pain, unpredictable urinary leakage, hip instability, or chronic stiffness in the lumbar spine.
Most people ignore early symptoms or assume that pelvic dysfunction is an unavoidable consequence of aging, heavy lifting, or childbirth. It is not. Musculoskeletal issues in the pelvic basin respond to targeted assessment and neuromuscular retraining just like rotator cuff strains or hamstring tendinopathies. Recognizing the specific functional state of your pelvic floor allows you to seek the right clinical care before secondary joint breakdown occurs.
Hypotonic vs Hypertonic: Two Distinct Muscle States
Pelvic floor dysfunctions fall into two primary mechanical categories: hypotonic and hypertonic. A hypotonic pelvic floor lacks adequate baseline resting tone, endurance, and contractility. The muscles stretch under load and fail to support the pelvic organs against gravity and abdominal pressure. A hypertonic pelvic floor sits in a state of chronic, involuntary contraction. These muscles cannot lengthen through their full excursion, leaving them fatigued, ischemic, and incapable of absorbing shock or relaxing during bodily functions.
Treating these two states requires opposing approaches. Prescribing strengthening exercises to a hypertonic pelvic floor shortens already tight tissue, worsening pain and urinary symptoms. Conversely, passive stretching does little for a hypotonic system that requires targeted motor recruitment. A clinical evaluation distinguishes between these states by measuring resting tone, voluntary contraction strength, and the ability to release tension completely.
| Parameter | Hypotonic (Underactive) | Hypertonic (Overactive) |
|---|---|---|
| Resting Muscle Tone | Low, lax, delayed reflex response | Elevated, rigid, unable to release down to baseline |
| Primary Bladder Symptoms | Stress incontinence during coughing or jumping | Urinary urgency, frequency, incomplete emptying |
| Pain Presentation | Sensations of heaviness or downward dragging | Sharp pelvic pain, tailbone aching, pain during intercourse |
| Associated Posture | Posterior pelvic tilt, flat lumbar spine | Excessive anterior tilt or chronic gluteal clenching |
| First-Line Clinical Focus | Progressive loading and motor unit recruitment | Down-training, myofascial release, lengthened excursion |
Mixed presentations also exist. A muscle can be chronically contracted yet functionally weak because a shortened muscle fiber cannot generate peak force. In these cases, restoring the resting length of the tissue is necessary before pursuing any strength training.
Common Warning Signs: Urgency, Pain, and Lower Back Strain
Pelvic floor dysfunction rarely stays isolated to the perineum. Because the pelvic musculature connects directly to the obturator internus, piriformis, and transverse abdominis, symptoms frequently present as general orthopedic complaints throughout the lumbo-pelvic-hip complex.
The primary clinical indicators that warrant an evaluation include:
- Urinary Urgency and Frequency: Needing to urinate more than 8 times in a 24-hour period, waking more than once per night to void, or experiencing a sudden, uncontrollable urge to urinate regardless of bladder volume. This often indicates a hypertonic bladder neck or an irritated detrusor muscle.
- Stress Urinary Incontinence: Leaking small amounts of urine when sneezing, coughing, laughing, running, or lifting heavy weights. This indicates that intra-abdominal pressure exceeds the closure pressure of the urethra, common in hypotonic presentations.
- Deep Pelvic, Coccyx, or Groin Pain: A constant ache deep in the sit bones, pain at the tip of the tailbone while sitting on hard surfaces, or persistent groin tightness that does not improve with hip flexor stretches.
- Unresolving Lower Back or Sacroiliac (SI) Joint Pain: Lumbar instability that returns despite months of core work. The pelvic floor stabilizes the base of the spine; when one side is hypertonic or weak, it torques the sacrum out of alignment.
- Dyspareunia and Pelvic Exam Pain: Discomfort, burning, or a sensation of hitting a wall during intercourse or during routine gynecological examinations, typically pointing to overactive superficial or deep pelvic floor layers.
When these symptoms persist for more than 3 weeks without a clear non-musculoskeletal cause, such as an active bacterial infection, a mechanical assessment of the pelvic floor is the logical diagnostic next step.
Why Blanket Kegel Recommendations Do More Harm Than Good
For decades, general medical advice directed anyone with pelvic issues to perform Kegel exercises, repetitive, voluntary contractions of the levator ani complex. While Kegels have utility for specific hypotonic conditions, prescribing them without an internal physical exam is poor clinical practice. If an individual has a hypertonic pelvic floor, performing 50 Kegels a day is equivalent to doing bicep curls when a bicep is already locked in a cramp.
Hypertonic muscles need to learn to lengthen, not contract. Repetitive squeezing causes microtrauma, increases trigger point irritability, and tightens the pudendal nerve pathways. This exacerbates pelvic floor tension, worsens constipation, and intensifies urinary urgency. Even in cases where weakness exists, an estimated 30 percent of individuals perform Kegel exercises incorrectly when relying solely on verbal instructions, often holding their breath, bearing down, or gripping their inner thighs instead of lifting the pelvic basin.
Effective rehabilitation requires targeted mechanical loading. That means restoring baseline muscle length first, training the relaxation reflex, and only then integrating pelvic floor contractions into functional movement patterns like squatting, carrying, and hinging.
What to Expect During a Pelvic Floor Physical Therapy Evaluation
A pelvic floor physical therapy evaluation is conducted by a licensed physical therapist who has completed advanced postgraduate orthopedic and pelvic health training. The appointment takes place in a private clinical room, typically lasting 60 to 90 minutes, and consists of three distinct parts: subjective history, external orthopedic screening, and internal muscle assessment.
Subjective History and Lifestyle Intake
The clinician begins by reviewing bladder and bowel habits, fluid intake patterns, athletic routines, sexual health, surgical history, and symptoms during daily activities. You will discuss the exact timing, triggers, and frequency of your symptoms to help the therapist determine whether the issue is primarily neurogenic, mechanical, or behavioral.
External Orthopedic Examination
The therapist evaluates your entire musculoskeletal chain while you stand, walk, and lie down. This includes:
- Assessing rib cage expansion and diaphragmatic excursion during respiration.
- Checking lumbar spine range of motion and SI joint mobility.
- Testing hip internal and external rotation strength, especially the obturator internus and gluteal complexes.
- Screening for diastasis recti (abdominal separation) and resting abdominal wall tension.
Internal Muscle Assessment
The internal assessment is optional and only performed with your informed, ongoing verbal consent. It does not use a speculum or stirrups. The therapist uses a single, gloved, lubricated finger to palpate the pelvic floor muscles transvaginally, transanally, or both, depending on your anatomy and symptoms.
During this examination, the physical therapist evaluates:
- Tissue Integrity and Tone: Identifying myofascial trigger points, scar tissue restrictions, and areas of local tenderness across the superficial and deep muscle layers.
- Strength and Endurance: Grading voluntary contraction strength on the standard 0 to 5 Modified Oxford Scale.
- Release Capacity: Assessing whether the muscle returns fully to its resting baseline after a contraction, or remains partially engaged.
- Coordination Under Pressure: Checking what happens to the pelvic floor when you cough, inhale deeply, or perform a gentle abdominal brace.
Following the assessment, the therapist explains the physical findings and designs a customized plan of care involving manual therapy, neuromuscular re-education, and home exercises.
Daily Posture and Breathing Habits That Relieve Tension
Because the pelvic floor operates synchronously with the respiratory diaphragm, daily breathing patterns and postural alignment directly influence pelvic muscle resting tone. Integrating mechanical corrections into your day can decrease tension without requiring hours of dedicated gym time.
Diaphragmatic Breathing with Pelvic Drop
When you inhale, the respiratory diaphragm moves downward, increasing intra-abdominal pressure. In a healthy system, the pelvic floor responds by relaxing and expanding downward to accommodate this pressure. When you exhale, both diaphragms recoil upward.
To train this excursion, follow this daily drill:
- Lie on your back with your knees bent and feet flat on the floor, or sit upright on a firm chair with your feet flat.
- Place one hand on your lower ribs and the other on your lower abdomen.
- Inhale slowly through your nose for 4 seconds, directing the air wide into your lateral ribs and low pelvis. Visualize the sit bones widening apart and the perineum gently softening downward.
- Exhale passively through open lips for 6 seconds without forcing the air out or pulling your navel to your spine.
- Repeat for 10 full breath cycles twice daily, particularly during times of high stress or when pelvic pain spikes.
Neutral Pelvic Alignment While Sitting
Slumping shifts your body weight directly onto the sacrum and coccyx, compressing the pelvic nerves and forcing the deep pelvic rotators into a shortened, protective spasm. Sitting rigidly upright with an exaggerated spinal arch also drives hypertonicity by keeping the abdominal wall and back extensors locked.
Find a neutral sitting posture by locating your ischial tuberosities (sit bones). Rock your pelvis backward until you round onto your tailbone, then tilt your pelvis forward until you arch your lower back. Settle directly between those two extremes, resting your weight squarely on the bony points of the sit bones. Ensure your knees are level with or slightly below your hips, and uncross your legs to allow the adductors and pelvic floor to rest symmetrically.
Dynamic Decompression Positions
Spend 3 to 5 minutes daily in passive positions that lengthen the pelvic floor under zero gravitational load. The supported deep squat (holding onto a sturdy doorframe or squat rack with hips below knees) and the modified child's pose (knees wide, hips back toward heels, chest supported by a pillow) open the pelvic outlet and allow tight levator ani muscles to drop without active stretching.
Common Mistakes to Avoid
Managing pelvic floor health requires steering clear of bad habits that silently reinforce muscle dysfunction:
- Stopping the Stream Mid-Flow: Frequently testing your pelvic floor strength by cutting off your urine mid-stream confuses normal bladder-brain signaling reflexes and can cause incomplete emptying or urinary tract irritation.
- Chronic Abdominal Gripping: Sucking in your stomach throughout the day elevates intra-abdominal pressure, restricts diaphragmatic excursion, and forces the pelvic floor to grip continuously to maintain continence.
- Hovering Over Public Toilets: Squatting above a toilet seat without sitting down prevents the pelvic floor muscles from relaxing, which is required for complete bladder evacuation. Sit down fully, or use a clean seat cover.
- Pushing During Bowel Movements: Bearing down strains the pudendal nerve and stretches connective tissue supports. Use a footstool to elevate your knees above your hips, which straightens the anorectal angle and allows gravity to assist evacuation.
- Pushing Through Pelvic Pain in Workouts: Continuing to perform heavy deadlifts, double-unders, or high-impact running while experiencing leakage or pelvic pain forces auxiliary muscles to guard, deepening the dysfunction.
Practical Next Steps
If you identify with the symptoms outlined in this guide, stop self-prescribing random pelvic exercises. Schedule an evaluation with a pelvic floor physical therapist or consult an orthopedic clinician, urogynecologist, or urologist for a formal assessment.
Prior to your first visit, keep a detailed 3-day log. Record the frequency of your urination, the volume and type of fluids consumed, any episodes of leakage, pain levels during specific movements, and bowel movement consistency using the Bristol Stool Chart. This data provides your therapist with objective baseline information, allowing them to pinpoint the mechanical root of your symptoms and design a targeted recovery plan.